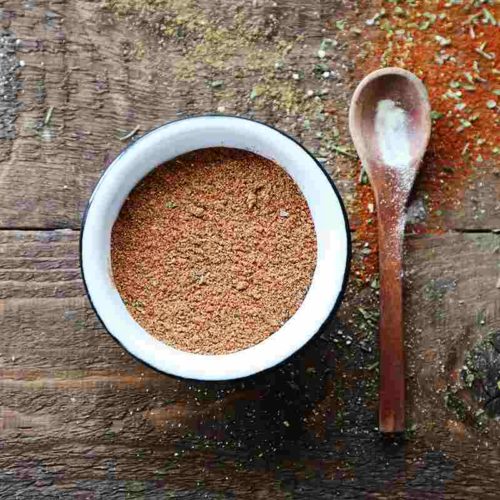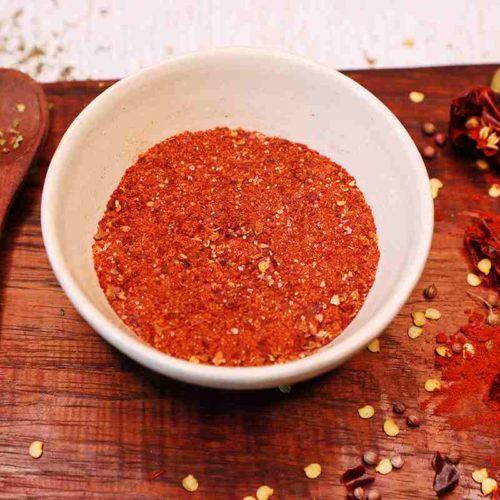
Sazonador para Fajitas
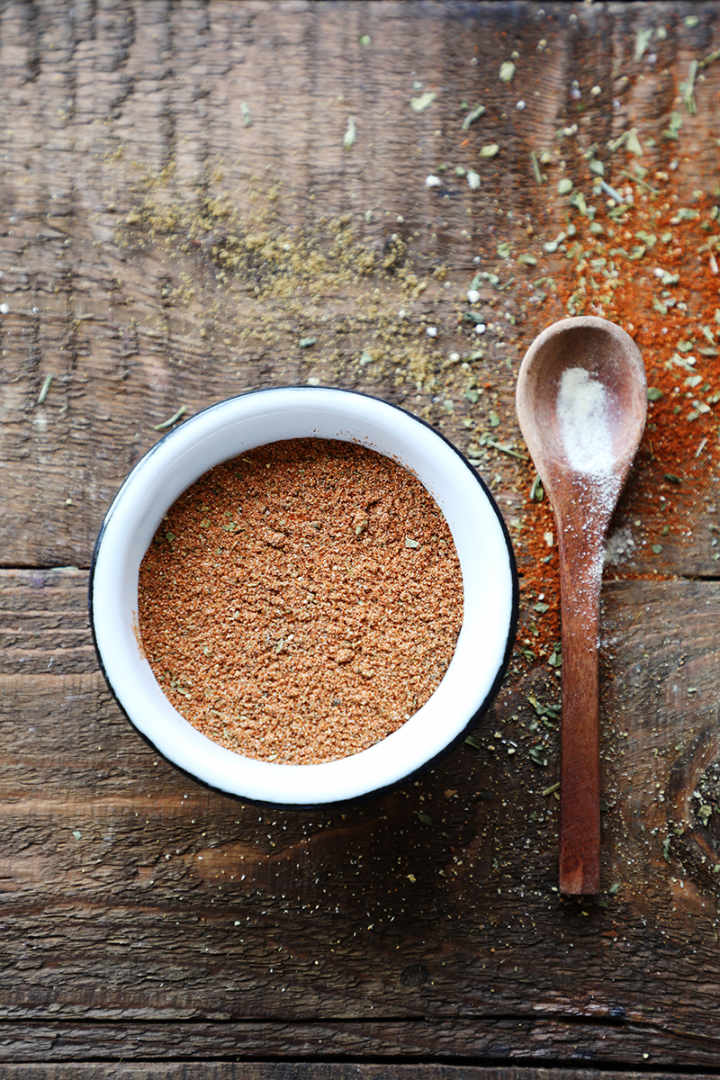
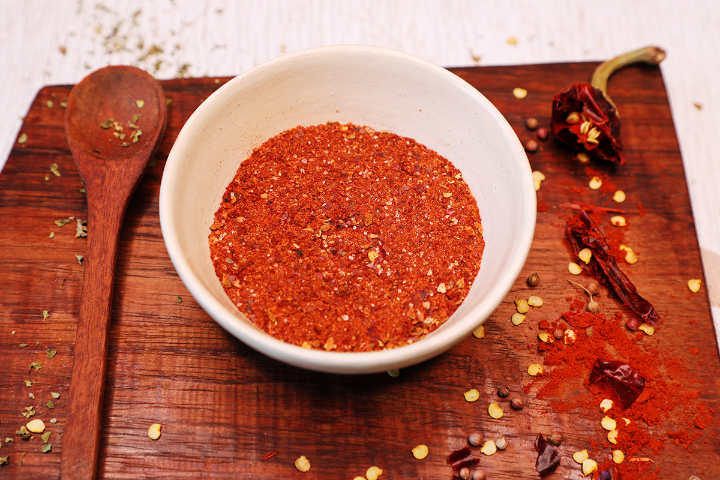
Homemade fajita seasoning is easy to make and you can adapt the flavor profile to your exact tastes. Mild fruity guajillo peppers form the base, paprika adds smokiness, cumin adds warmth, and arból peppers add as much heat as you would like.
Use It On
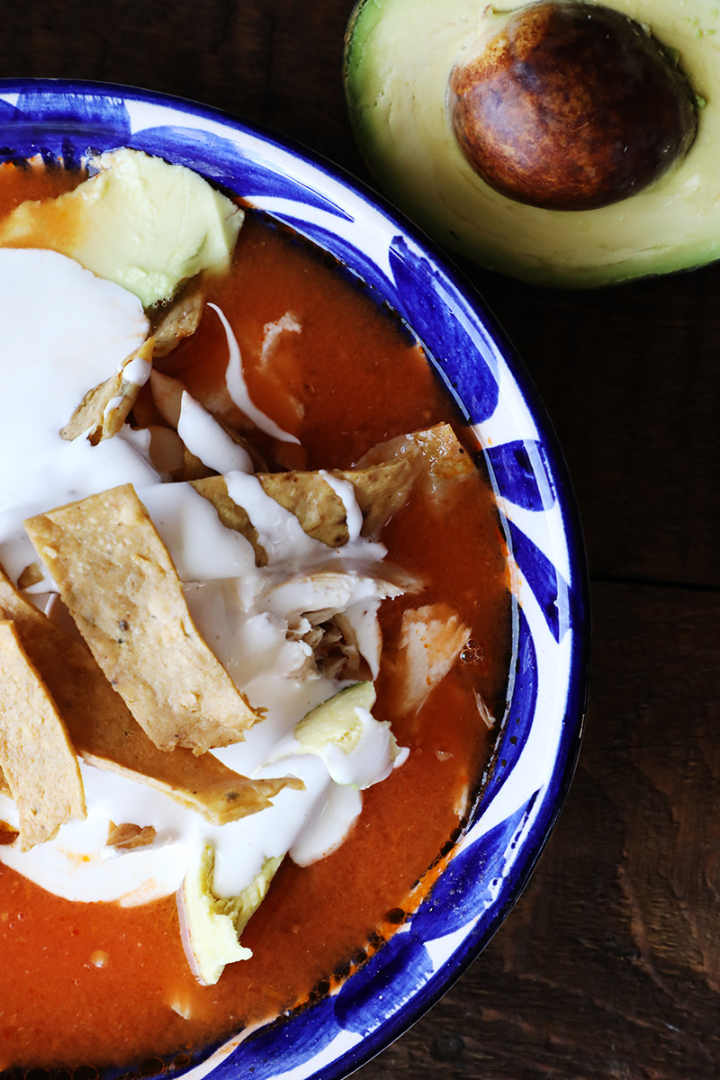
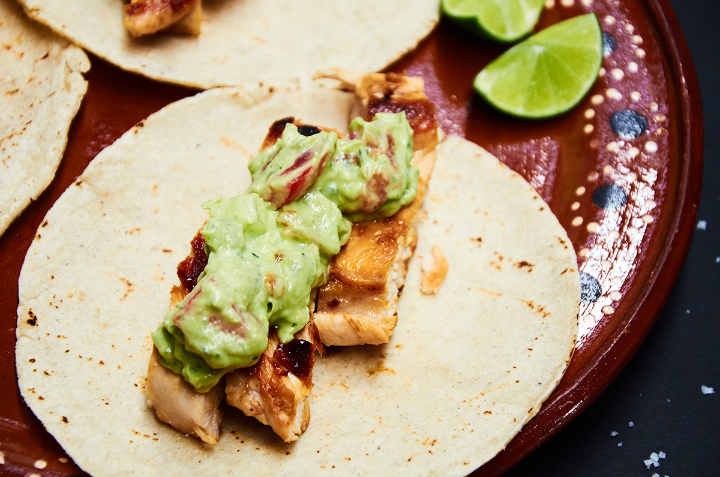
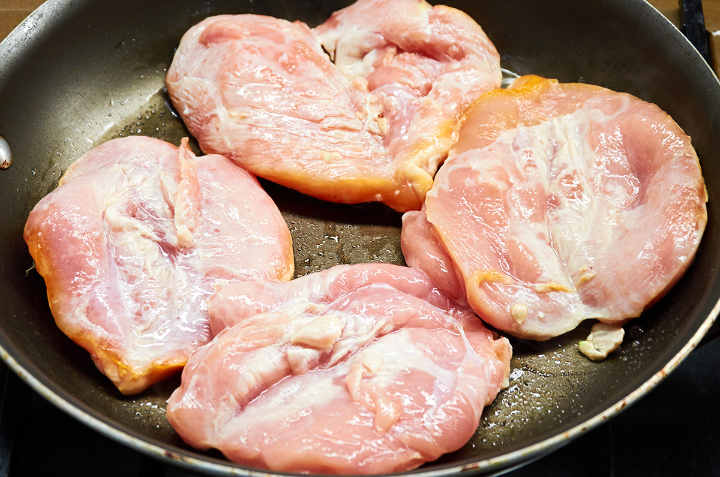
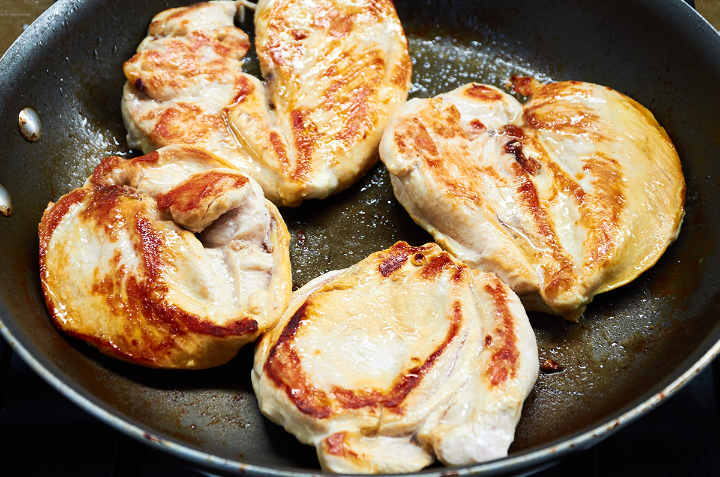
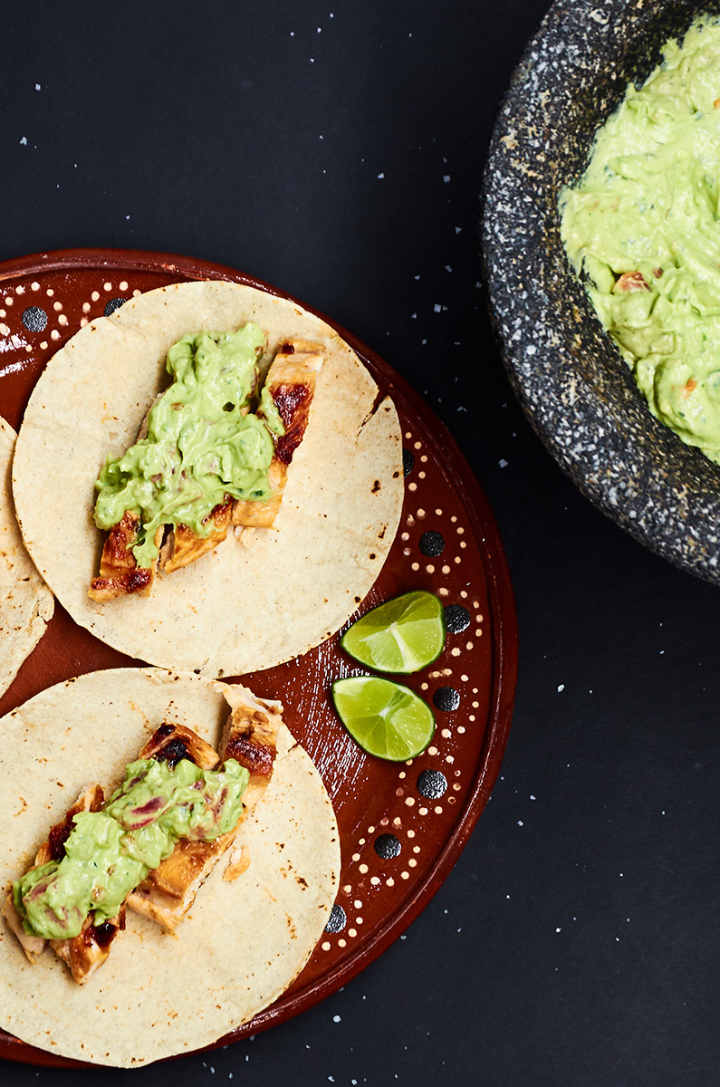
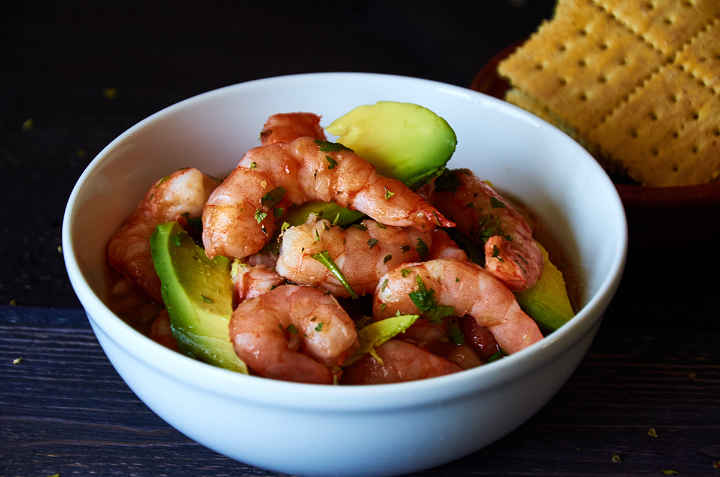
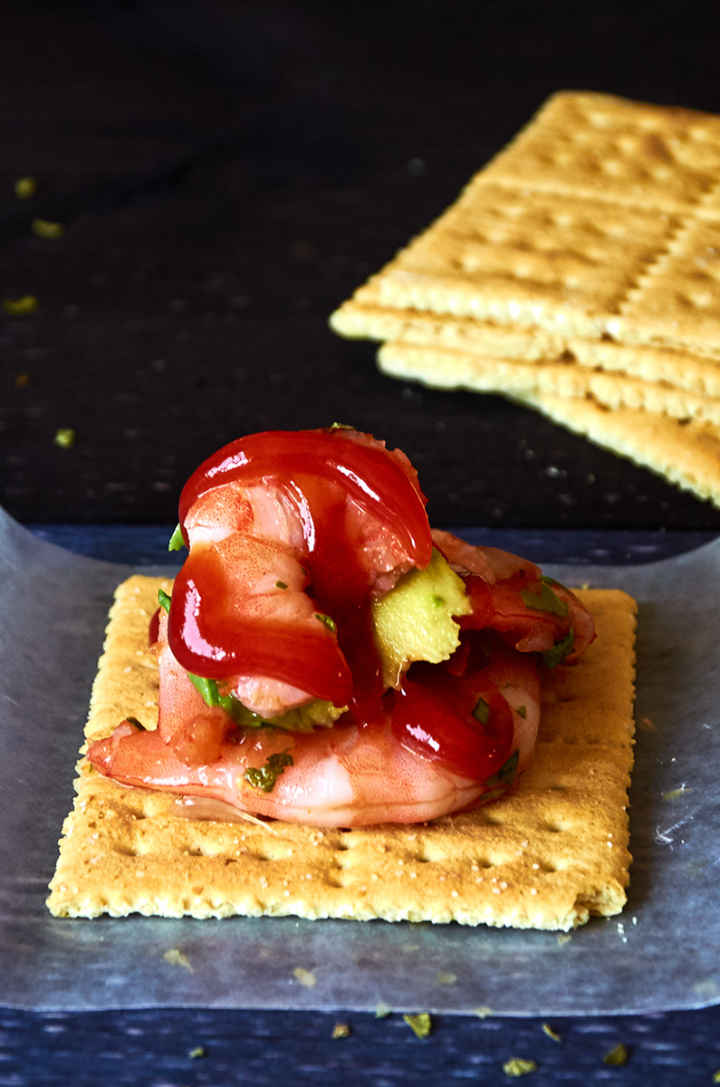
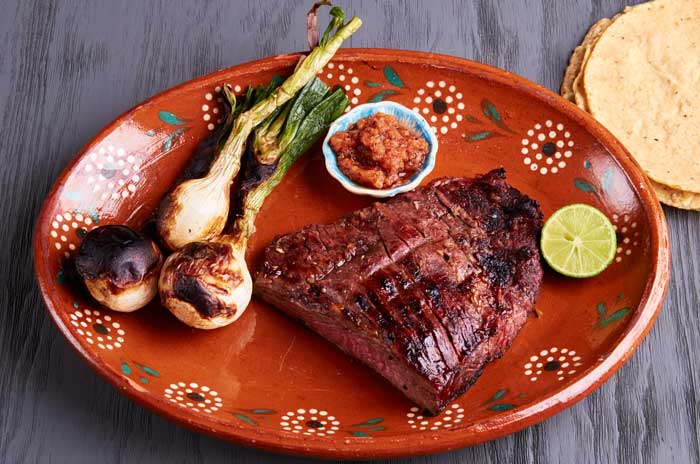
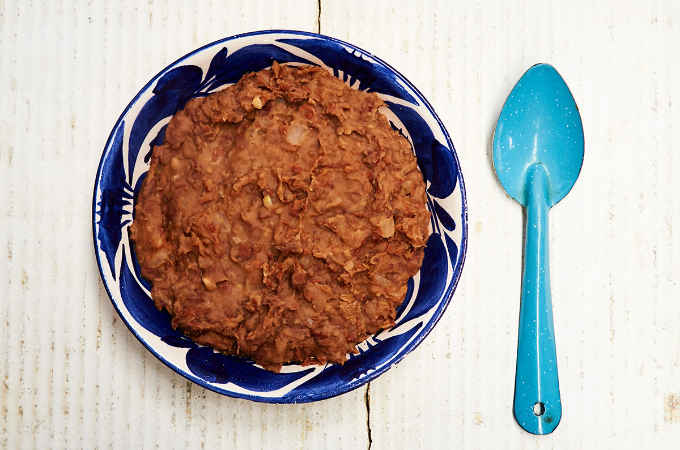
We like to use this seasoning mix to prepare chicken fajitas, beef fajitas, or shrimp fajitas, to add some Mexican flavor.
How to Make
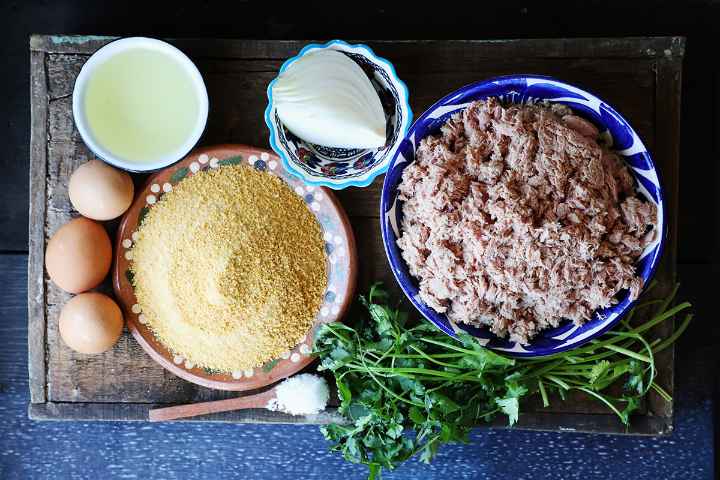
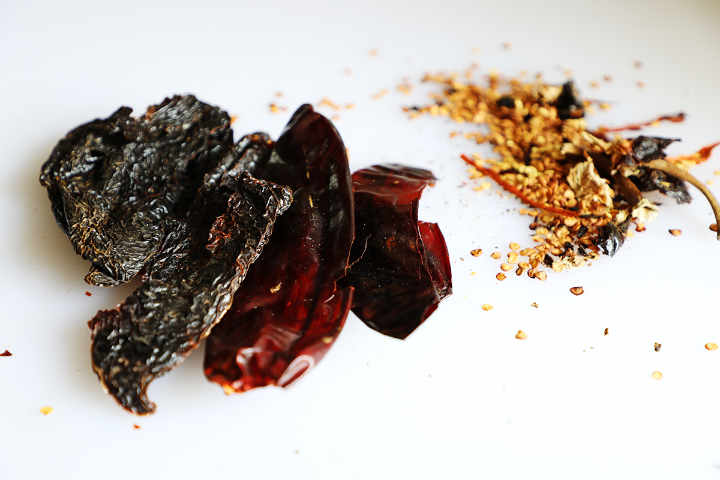
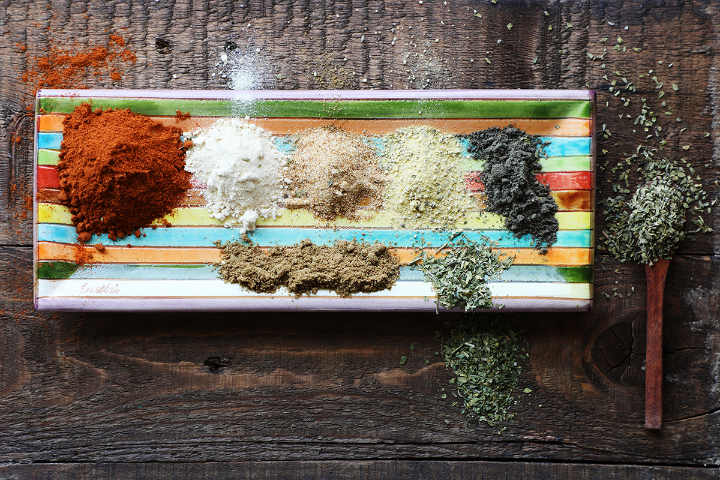
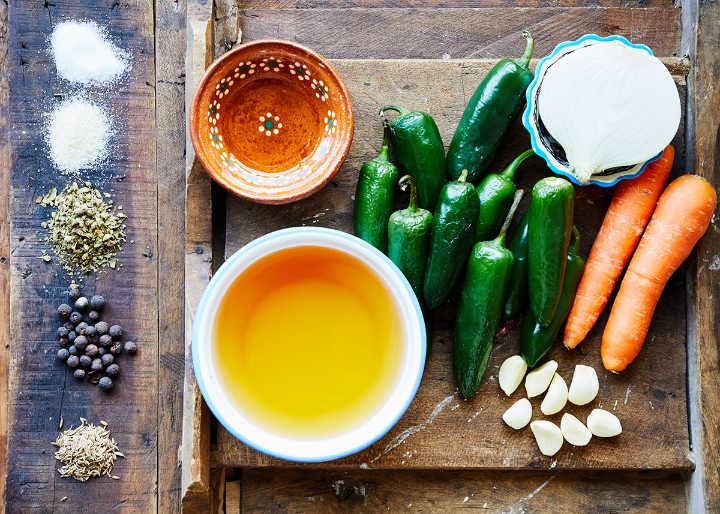
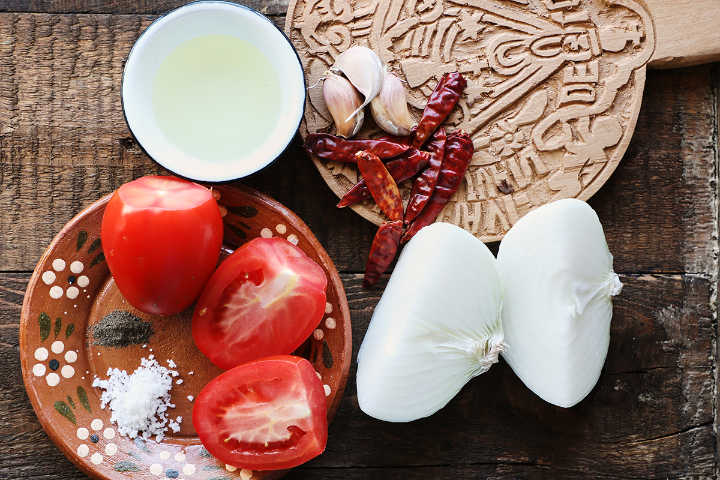
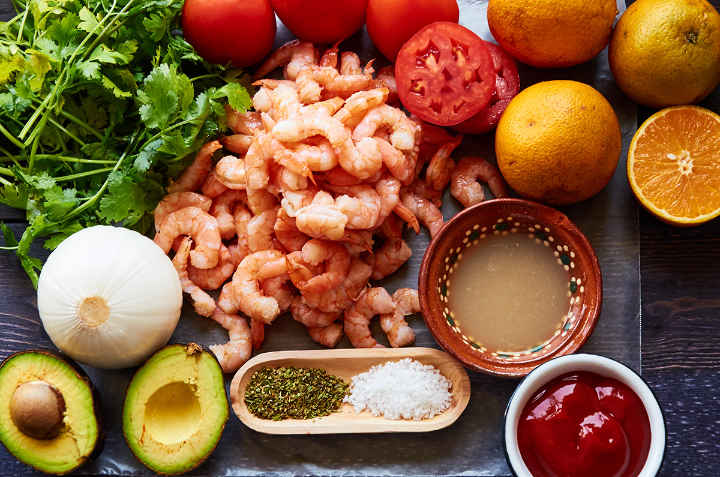
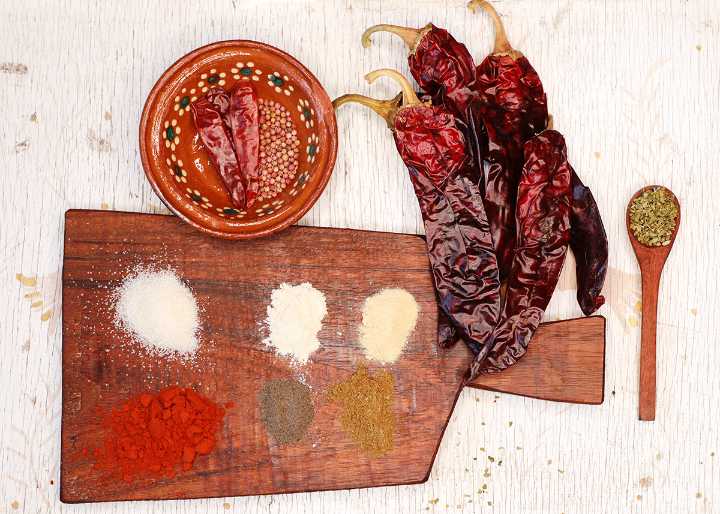
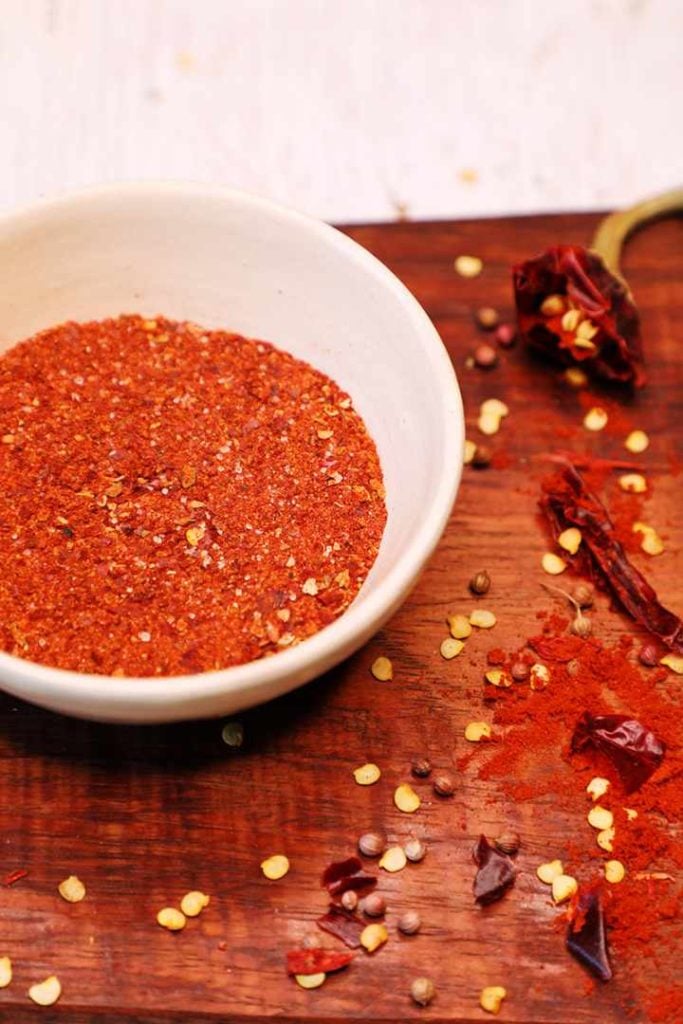
Gather your ingredients. Most are pantry staples.
Ingredients:
Our fajita spice mix doesn’t include salt which is intentional. We have left it up to you to decide how much salt to use based on your tastes and dietary preferences. If you want to add salt, a good starting point would be to add 1 tablespoon to the seasoning mix.
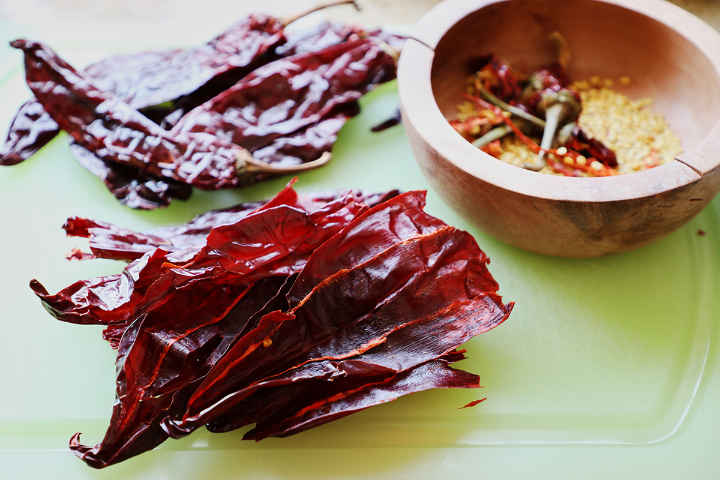
- 5 guajillo chile peppers
- 3 arból chile peppers
- 1 tbsp. coriander seeds
- 1 tbsp. paprika
- 1 tbsp. sugar
- ½ tsp. garlic powder
- ½ tsp. onion powder
- ½ tsp. ground cumin
- ½ tsp. ground black pepper
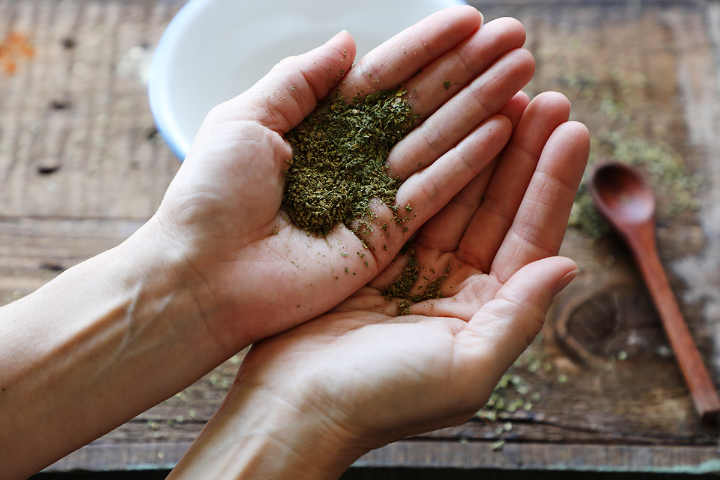
- ½ tsp. Mexican oregano
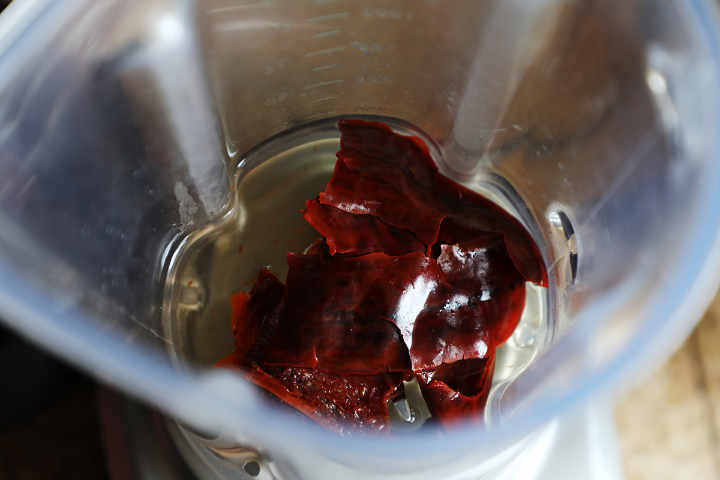
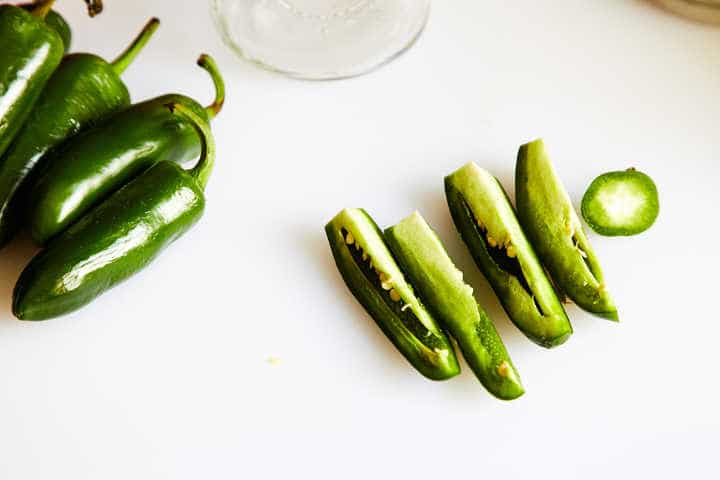
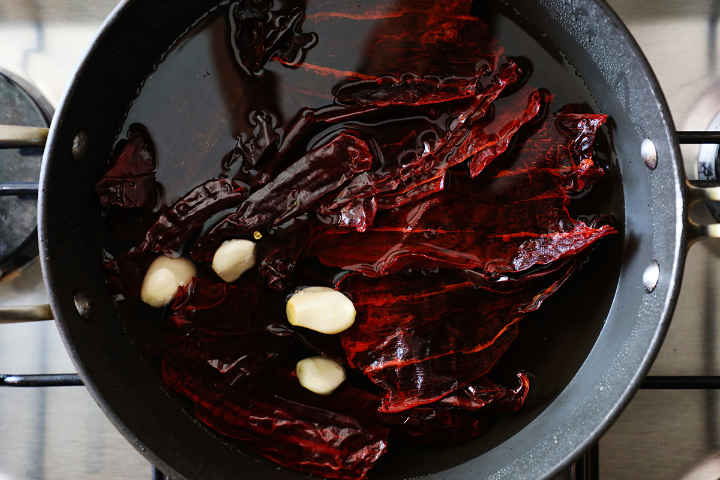
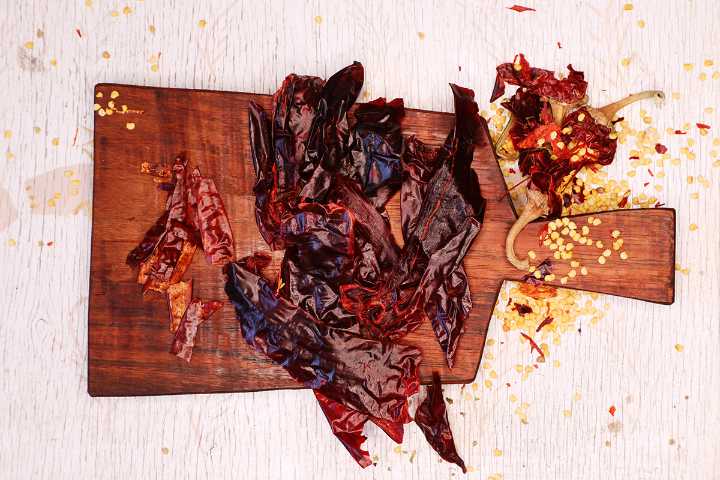
Remove the stems and seeds from the chiles.
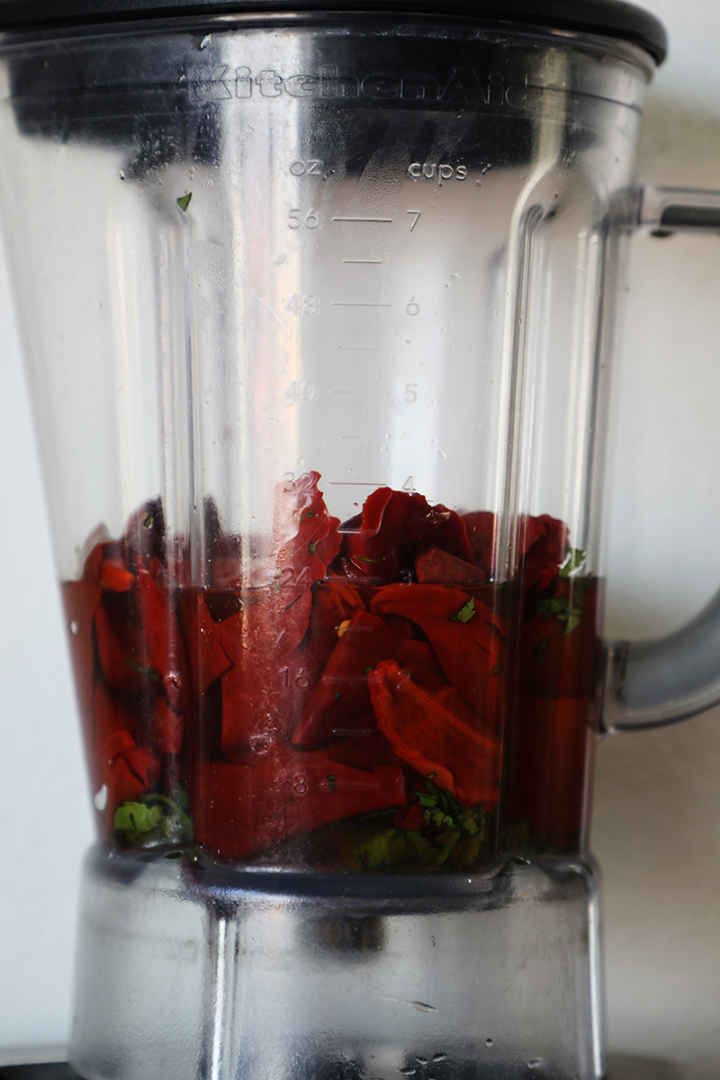
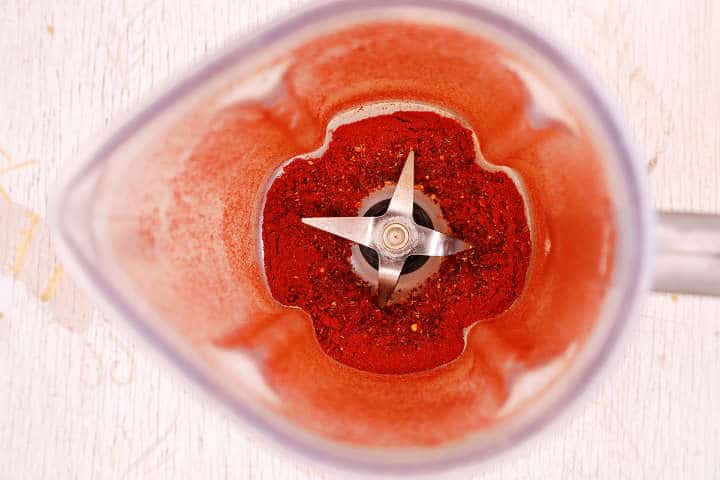
Add the guajillo and arból chiles to your blender. Do not add any liquid.

Add the coriander seeds.

Blend for about 30 seconds until you have a fine powder.
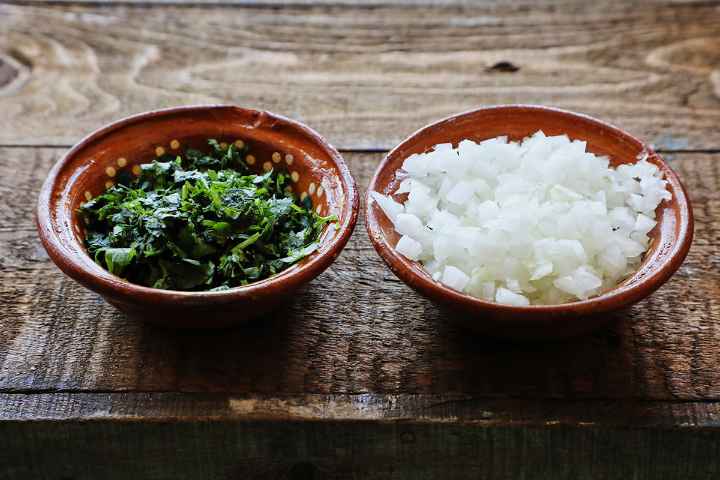
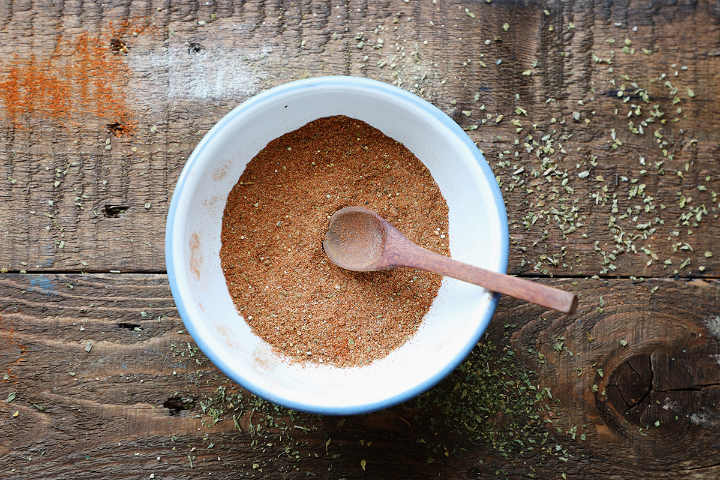
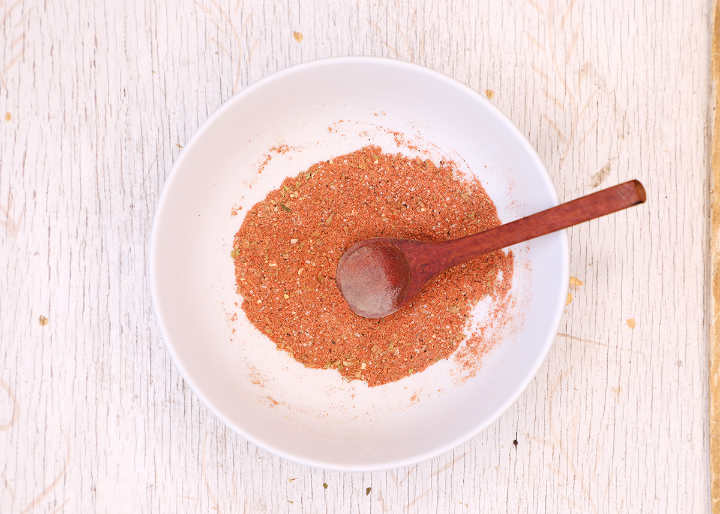
In a small mixing bowl add the remaining ingredients.

Mix well.
Add the ground chile peppers and coriander seed.
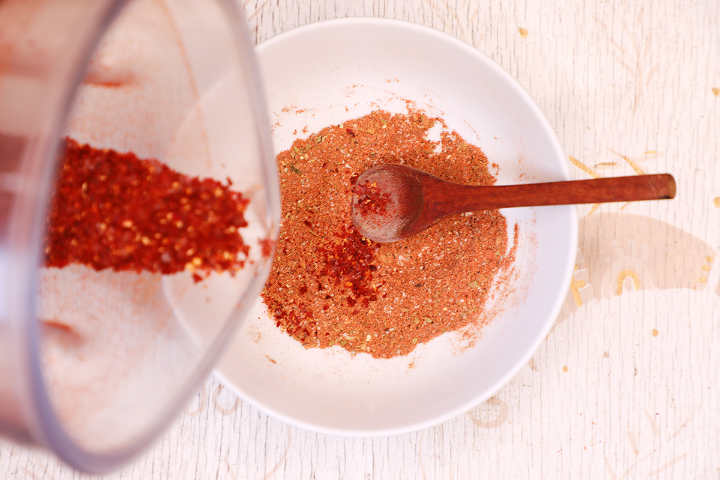
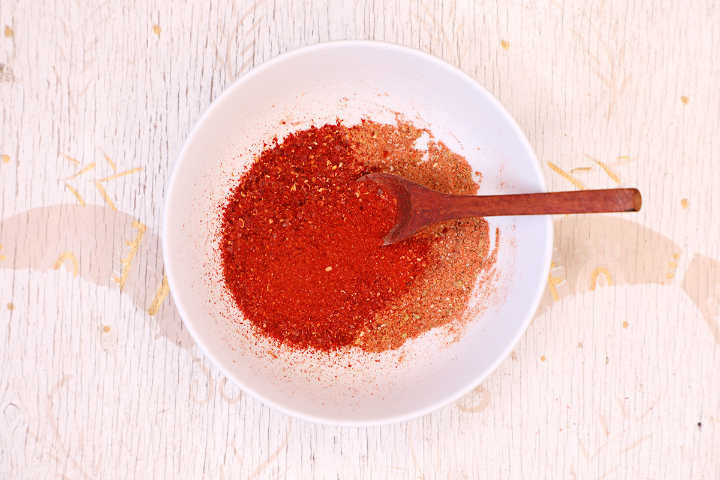
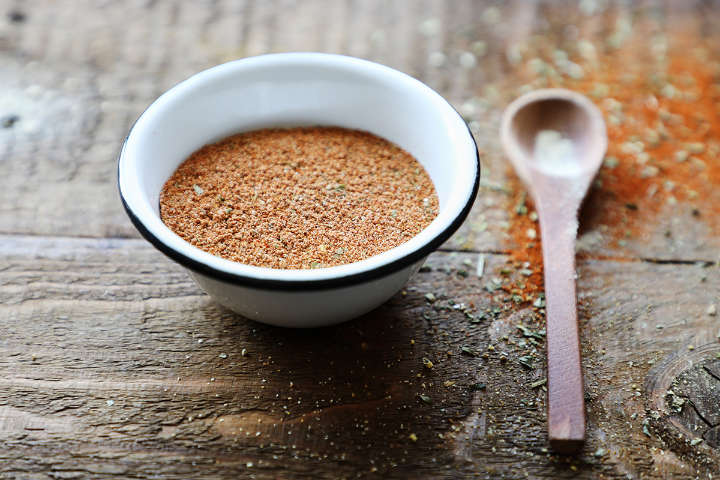
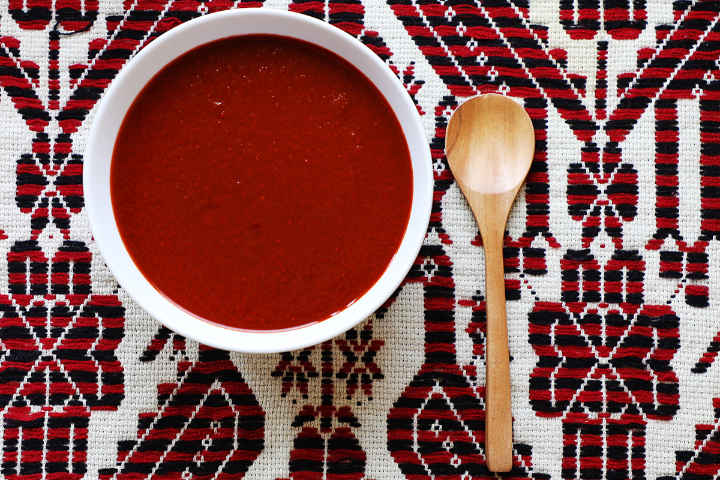
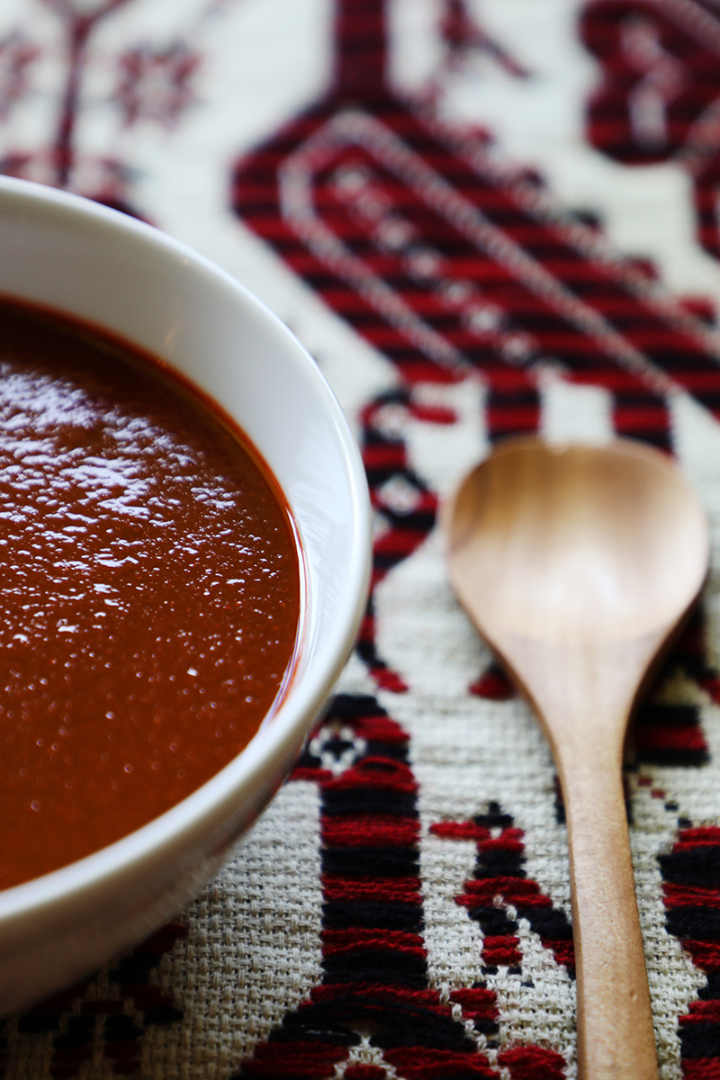
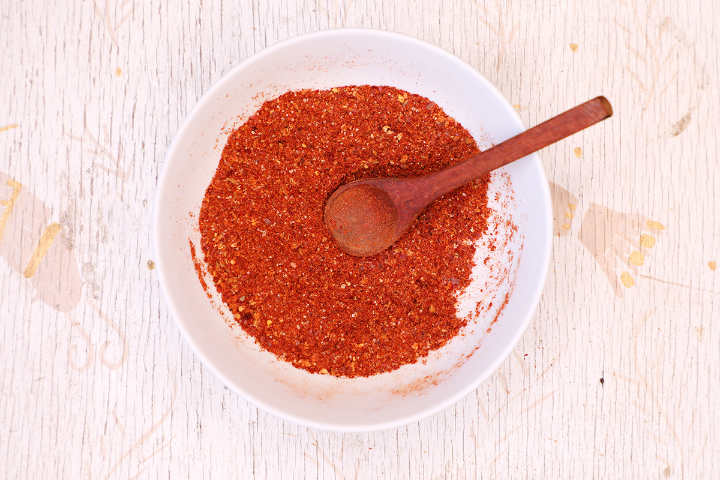
Mix well. Your seasoning is ready to use.
Adjusting the Spice Mix
Mexican spices are very adaptable. You can easily adjust the flavor profile to your liking. Here are a few tips:
- Add extra arból chile peppers if you prefer a hotter seasoning.
- Reduce the quantity of arból chile peppers or omit if you prefer a milder seasoning.
- Reduce the amount of cumin to feature more of the guajillo pepper flavor.
- Reduce the amount of black pepper to feature more of the guajillo pepper flavor.
- Increase the quantity of Mexican oregano to give the seasoning a sweeter more herbal profile.
How to Use
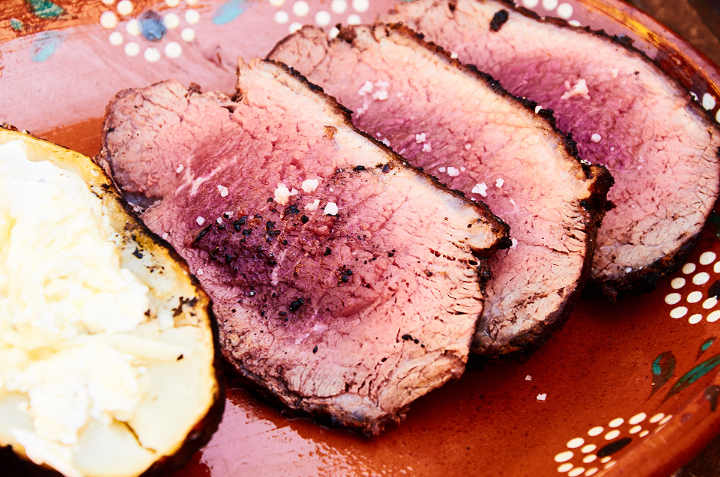
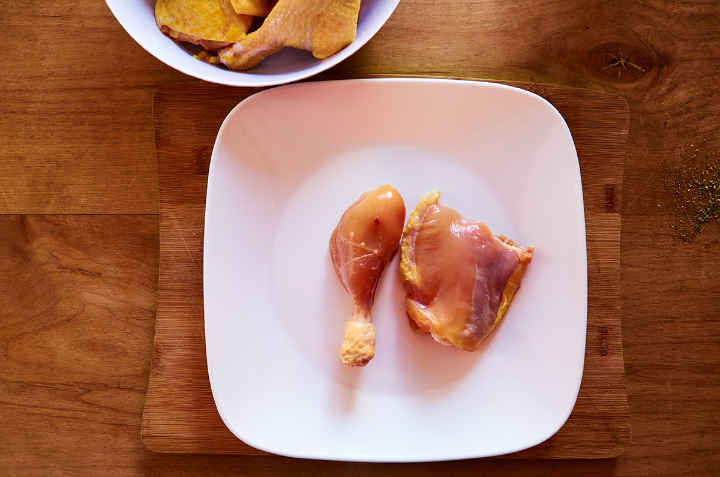
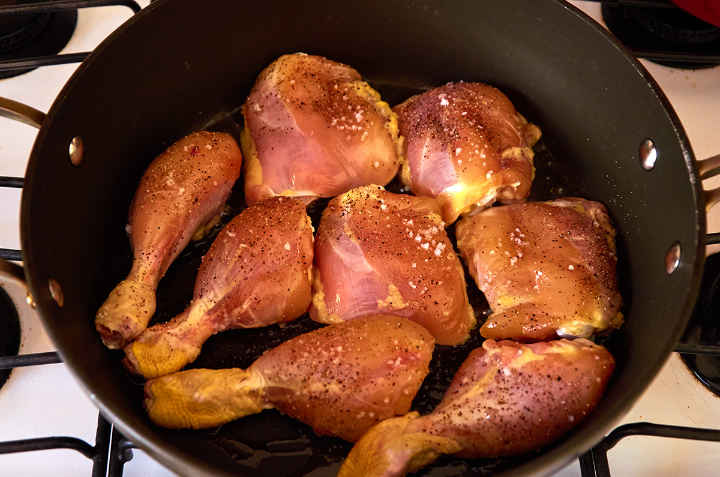
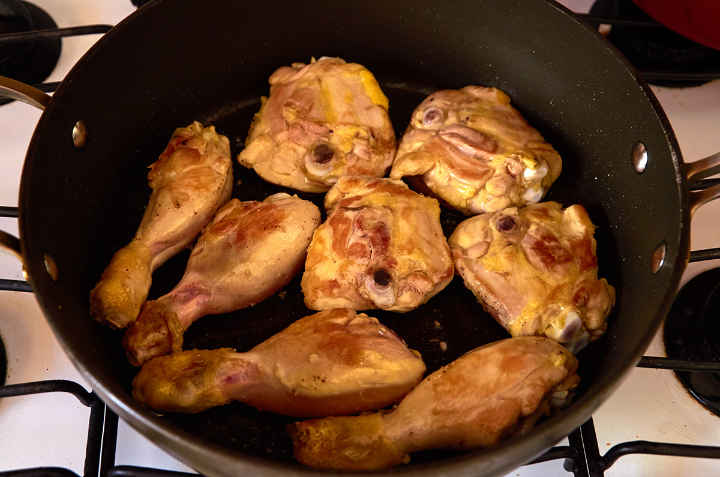
Use one tablespoon per pound of meat. Rub both sides of the meat with the seasoning and work it in well. Cover the meat and refrigerate for at least 4 hours so that the flavor permeates the meat. Allowing the meat to season overnight is even better. Cook using your favorite cooking method. Pan-frying or grilling work really well.
Storage
Store in an airtight container for up to one month. The ground chiles lose their flavor if stored much longer than this.
Let us know in the comments below how you have adapted this recipe to your liking.
Provecho!

Fajita Seasoning Recipe
Equipment
- Blender
- Small Mixing Bowl
- Tablespoon
Ingredients
- 5 guajillo chile peppers
- 3 arból chile peppers
- 1 tablespoon coriander seeds
- 1 tablespoon paprika
- 1 tablespoon sugar
- ½ teaspoon garlic powder
- ½ teaspoon onion powder
- ½ teaspoon ground cumin
- ½ teaspoon ground black pepper
- ½ teaspoon Mexican oregano
Instructions
- Remove the stems and seeds from the chiles.
- Add the guajillo, arból chiles, coriander seed to your blender and blend for about 30 seconds until you have a fine powder.
- In a small mixing bowl add the remaining ingredients and mix well.
- Add the ground chile peppers and coriander seed and mix well.
Notes
Nutrition
More Mexican Seasoning Mixes